How to Build a Gaming PC for Beginners: A Complete Step-by-Step Guide
Building your own gaming PC sounds intimidating the first time you see a motherboard manual, but the truth is simpler than most people expect: a modern PC is really just seven or eight parts that click, slot, and screw together in a logical order. Learning how to build a gaming PC saves you money compared with a pre-built system, gives you exactly the performance you pay for, and makes future upgrades easy because you already know what is inside the case. This complete step-by-step guide walks a total beginner through choosing parts, assembling them safely, and getting Windows and your first games running.
Step 1: Set Your Budget and Resolution Target
Every good build starts with two decisions: how much you can spend, and what resolution you want to play at. A PC built for smooth 1080p gaming costs far less than one built for 4K, and overspending on the wrong part is the most common beginner mistake.
Sensible budget tiers
- Around $700–$900: excellent 1080p gaming at high settings in almost every title.
- Around $1,100–$1,400: strong 1440p performance — the current sweet spot for most players.
- $1,800 and up: high-refresh 1440p or entry 4K, with headroom for ray tracing.
Remember to budget for a monitor, keyboard, and mouse if you do not already own them. A powerful PC connected to an old 60Hz office monitor wastes much of its potential.
Step 2: Choose Your Parts
A gaming PC needs eight core components. Here is what each one does and where your money matters most.
The graphics card (GPU) — spend the most here
The GPU renders your games and has the biggest impact on frame rates. As a rough guide, allocate 35 to 45 percent of your total budget to it. Current mid-range cards handle 1440p beautifully, and features like DLSS and FSR upscaling stretch performance further. Check that the card physically fits your case and that its recommended power supply wattage matches your PSU.
The processor (CPU) and motherboard
The CPU feeds the GPU and handles game logic. A modern 6-core or 8-core processor from AMD or Intel is plenty for gaming. Your motherboard must match the CPU’s socket — for example, AMD’s AM5 platform or Intel’s current LGA socket — so always check compatibility before ordering. Beyond that, look for enough USB ports, Wi-Fi if you need it, and at least two M.2 slots for storage expansion.
Memory (RAM) and storage
16GB of RAM is the minimum for a new gaming build, and 32GB is increasingly the comfortable choice for multitasking and future titles. Speed matters too: enable the XMP or EXPO profile in the BIOS so the kit runs at its rated speed. For storage, a 1TB NVMe SSD is the practical starting point — games load dramatically faster than from a hard drive, and modern titles increasingly expect SSD speeds.
Power supply, case, and cooling
Never cheap out on the power supply. Buy from a reputable brand, look for an 80 Plus Bronze rating or better, and choose wattage with headroom — 650W to 750W covers most single-GPU builds. Your case needs airflow (a mesh front panel helps enormously) and enough room for your GPU length. The stock CPU cooler is fine for mid-range chips; a budget tower air cooler runs quieter and cooler.
Step 3: Prepare Your Workspace
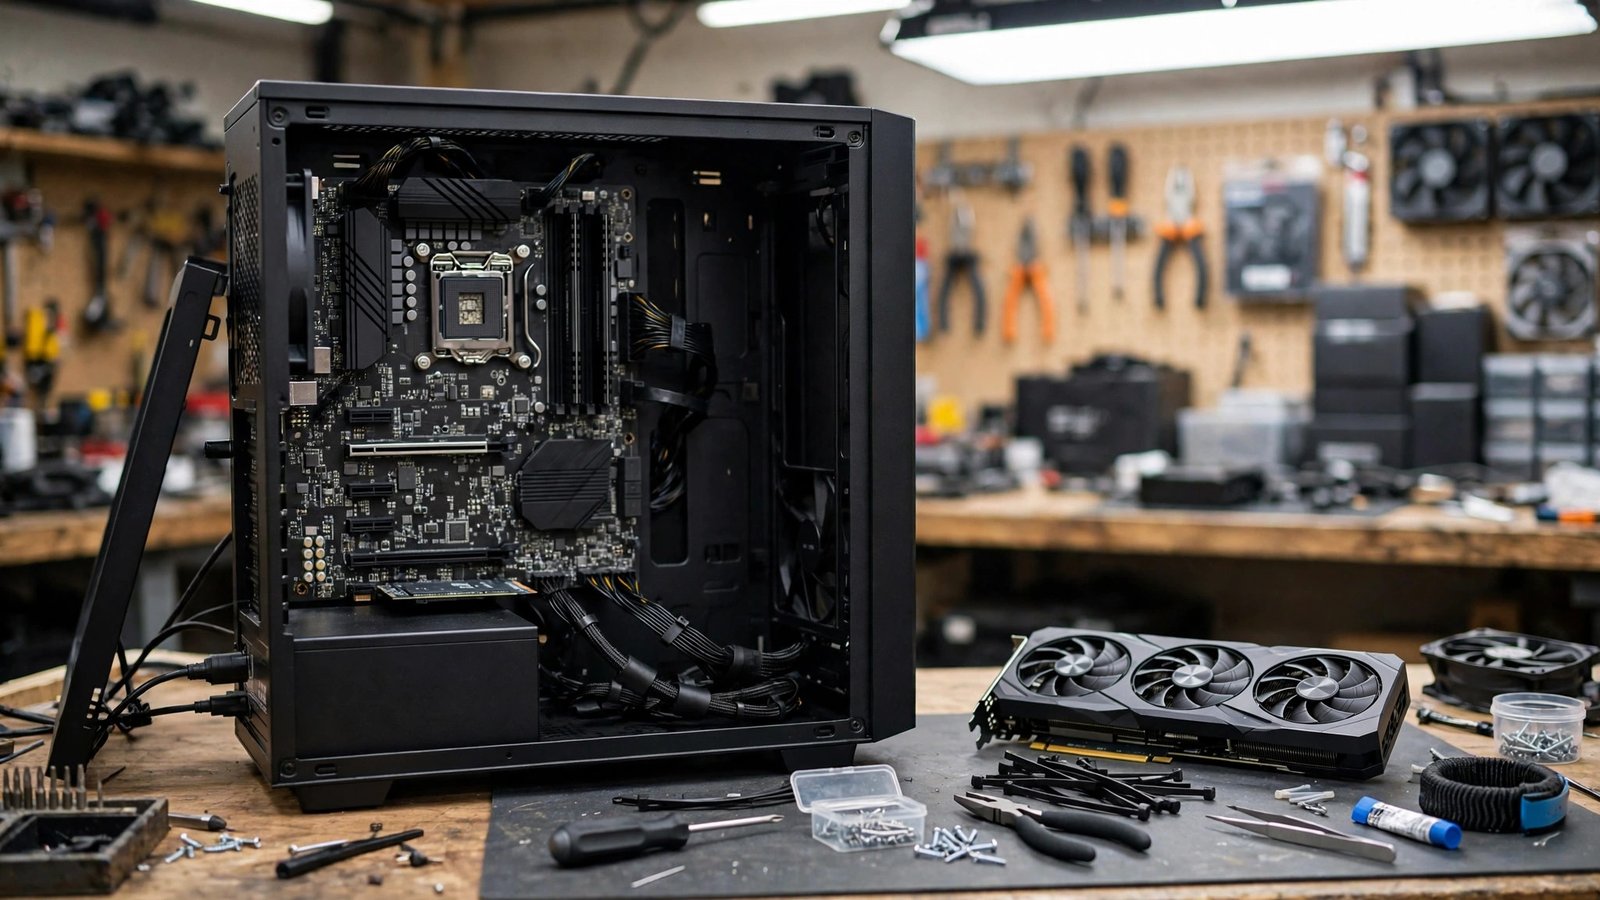
Before opening any boxes, clear a large table, work on a hard floor rather than carpet if possible, and keep a small bowl for screws. Touch a grounded metal object periodically to discharge static, or wear an anti-static wrist strap. Keep every manual — the motherboard manual in particular becomes your map for the trickiest step, connecting the front-panel cables.
You only need basic tools: a Phillips screwdriver (a magnetic tip saves frustration), a few zip ties or Velcro straps for cables, and a flashlight or phone light for peering into corners of the case.
Step 4: Build the PC, Step by Step
1. Install the CPU
Open the motherboard socket lever, align the small triangle on the CPU corner with the triangle on the socket, and lower it in gently — it should sit flat with zero force. Close the lever. A CPU only fits one way; if it does not drop in, rotate and check the alignment marks rather than pushing.
2. Install RAM and the SSD
Push each RAM stick into its slot until both clips click. With two sticks, use the second and fourth slots from the CPU (check the manual). For the NVMe SSD, insert it into the M.2 slot at a slight angle, press it down, and secure the small screw or tool-free latch.
3. Mount the CPU cooler
If your cooler does not have pre-applied thermal paste, add a pea-sized dot to the centre of the CPU. Attach the cooler following its instructions, tightening screws in a cross pattern a little at a time so pressure stays even. Plug its fan cable into the CPU_FAN header.
4. Install the motherboard in the case
Snap the I/O shield into the case if it is not pre-installed, confirm the standoffs match your board’s holes, then lower the motherboard in and screw it down — snug, not forced. Route the thick 24-pin and 8-pin CPU power cables from the PSU, usually through the top cutout for the CPU cable.
5. Install the graphics card and connect power
Remove the PCIe slot covers that line up with the top x16 slot, seat the GPU until the latch clicks, and screw the bracket to the case. Connect the PCIe power cables from the PSU — high-end cards may need two or three connectors. Sagging is normal on heavy cards; a simple support bracket helps.
6. Connect the front panel and tidy up
The tiny front-panel connectors (power switch, reset, LEDs) are the fiddliest part of any build. Follow the diagram in your motherboard manual exactly. Then connect case fans, SATA drives if you have any, and use zip ties to keep cables clear of airflow paths. Good cable management is not just cosmetic — it makes upgrades and troubleshooting far easier.
Step 5: First Boot, Windows, and Drivers
Connect your monitor to the graphics card, not the motherboard — a classic first-build mistake that makes the PC look broken. Power on. If the fans spin and you reach the BIOS screen, the build works. Set your boot device to a USB stick with the Windows installer, install Windows, then install drivers in this order: chipset driver from the motherboard page, the latest GPU driver from NVIDIA or AMD, then Windows updates. Finally, re-enter the BIOS and enable XMP/EXPO so your RAM runs at full speed, and set your monitor to its full refresh rate in Windows display settings.
Common Beginner Mistakes to Avoid
- Forgetting the motherboard standoffs or the I/O shield before installation.
- Leaving the plastic film on the CPU cooler’s contact plate.
- Plugging the monitor into the motherboard instead of the GPU.
- Mixing modular PSU cables between different power supply brands — never do this.
- Skipping the RAM profile, which silently leaves performance on the table.
Frequently Asked Questions
Is it cheaper to build a gaming PC than to buy pre-built?
Usually yes — building yourself typically saves $100 to $300 at the same performance level, and you choose every component. Pre-builts make sense during GPU shortages or sales, but always compare the actual parts list, not just the headline specs.
How long does a first build take?
Plan on two to four hours for your first time, working slowly and following the manuals. Experienced builders do it in under an hour. Rushing causes most mistakes, so treat the build as part of the fun.
What is the most important part for gaming?
The graphics card, by a wide margin. It determines your frame rate and the settings you can run. Balance still matters — a very old CPU will bottleneck a strong GPU — but the GPU is where the largest share of your budget belongs.
Can I upgrade my PC later?
Absolutely — that is one of the biggest advantages of building. RAM, storage, and the GPU are easy drop-in upgrades. A quality power supply and a motherboard on a current platform give you the most future options.
Conclusion
Now you know how to build a gaming PC from first decision to first game: set a budget around your resolution target, put the biggest share into the GPU, assemble in a calm order on the motherboard first, and finish with drivers and the RAM profile. Take it slowly, double-check each connection, and enjoy the moment it boots — a machine you built yourself always feels faster.