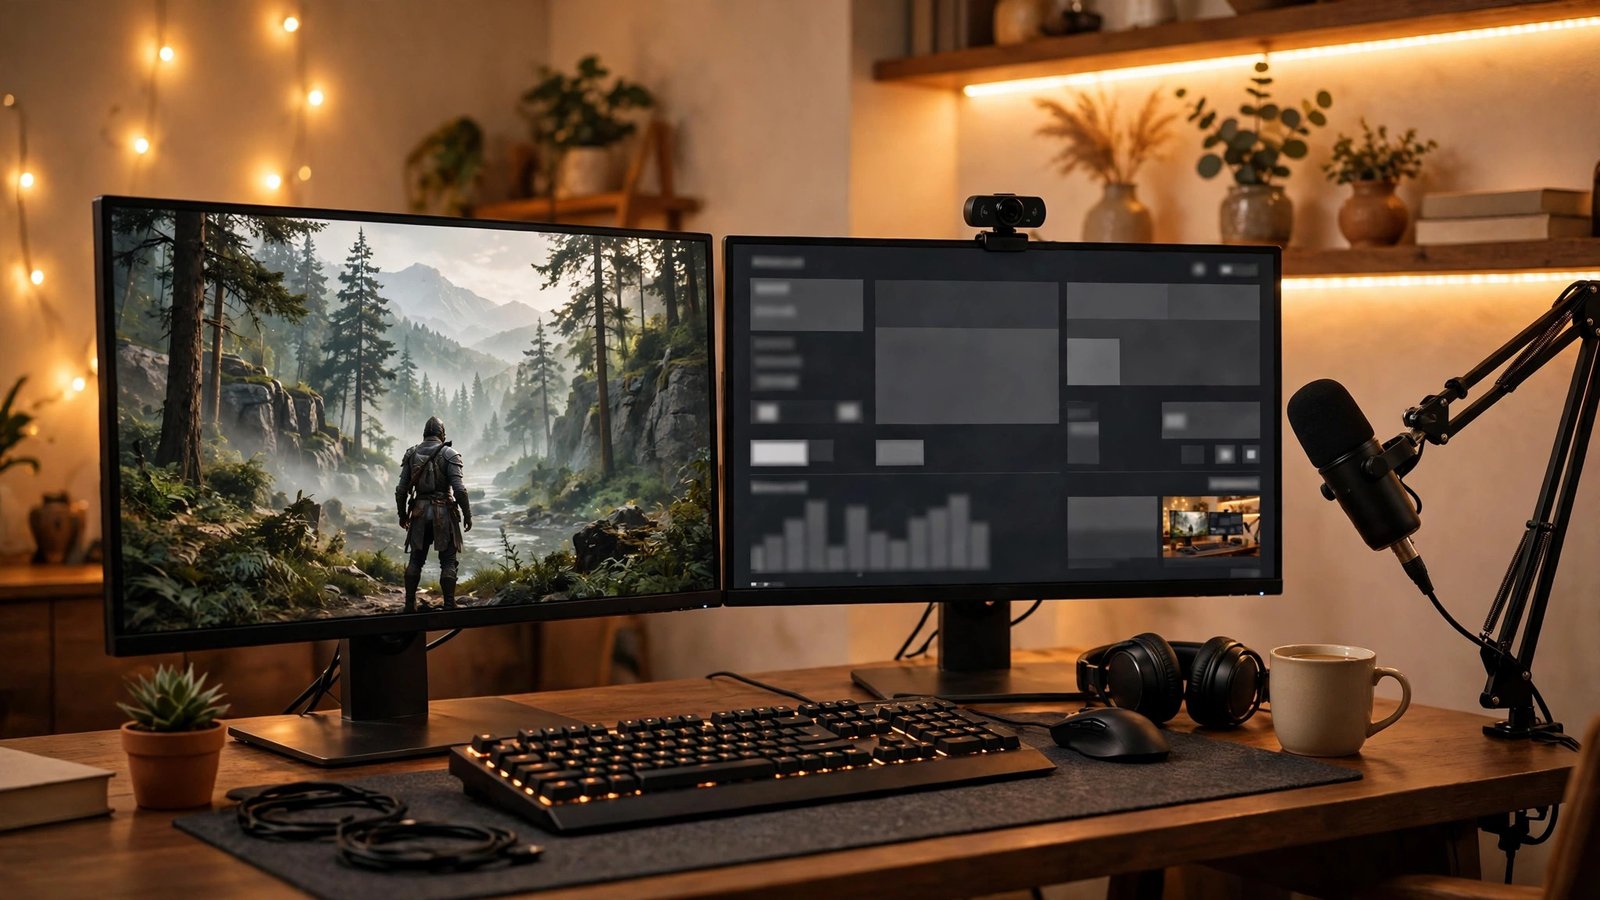
How to Start Streaming on Twitch: A Beginner’s Complete Setup Guide
Every big streamer you watch started with zero viewers, a wobbly webcam, and a first broadcast nobody saw. The difference between them and the thousands who quit after a week is not talent or luck — it is a solid setup and a sensible plan. If you want to know how to start streaming on Twitch in 2026 without wasting money, this step-by-step guide covers the gear you actually need, the software settings that matter, and how to set up your channel so your very first stream looks like you have been doing it for months.
Step 1: Create and Secure Your Twitch Account
Sign up at twitch.tv with a username you can live with long-term — short, pronounceable, and consistent with your other social accounts. Turn on two-factor authentication immediately; Twitch requires it before you can broadcast, and it protects your channel from hijacking. While you are in settings, write a short channel bio that says what you play and when you stream. New channels are discovered through first impressions, and an empty profile page is the fastest way to lose a curious visitor.
Step 2: Choose Your Streaming Gear
The PC or Console Question
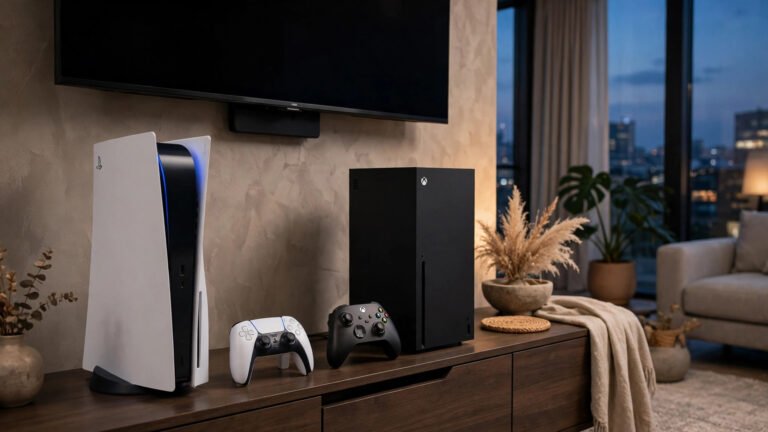
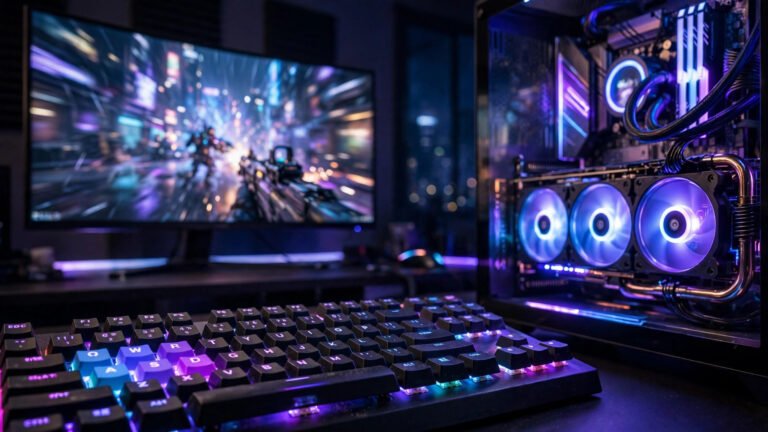
You can stream directly from a PlayStation or Xbox with no extra hardware, and that is a perfectly valid way to test the waters. However, a PC gives you overlays, alerts, better audio control, and room to grow. A mid-range gaming PC that runs your games well can usually stream them too, especially if your graphics card has a hardware encoder such as NVENC, which handles the video encoding with almost no impact on game performance.
Microphone: The Single Most Important Upgrade
Viewers will forgive average video. They will not forgive bad audio. A decent USB microphone in the $50–$100 range is the best first purchase any streamer can make — it matters far more than a camera. Position it close to your mouth, off to the side, and lower the gain so background noise stays out. If your budget is truly zero, a wired headset mic positioned correctly still beats a laptop’s built-in microphone.
Camera and Lighting
A facecam builds connection, and viewers stay longer when they can see reactions. A 1080p webcam is plenty; your phone can also work as a surprisingly good camera through free apps. Lighting matters more than the camera itself — a simple desk lamp or ring light in front of your face, slightly above eye level, will make a budget webcam look professional. Never sit with a bright window behind you unless you enjoy being a silhouette.
Internet Connection
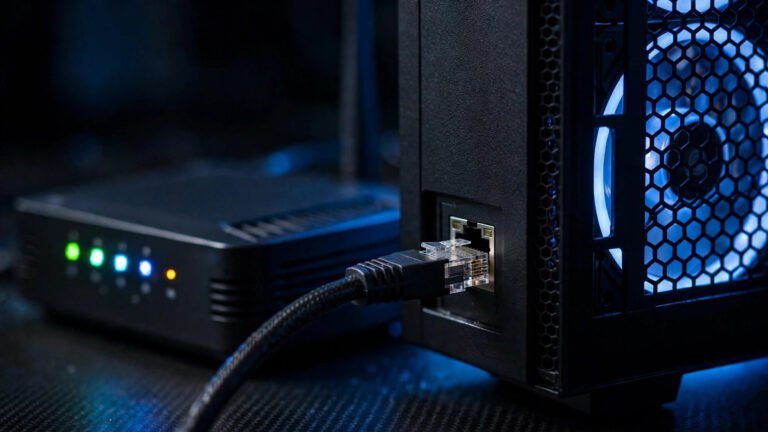
Streaming lives or dies on upload speed. You want at least 10 Mbps of stable upload for a 1080p stream, and you should use a wired Ethernet connection whenever possible. Wi-Fi drops and jitter cause the buffering and frame drops that send viewers away in seconds. Run a speed test at the time of day you plan to stream, not just once in the morning.
Step 3: Set Up Your Streaming Software
The two main choices are OBS Studio (free, powerful, the industry standard) and Streamlabs (built on OBS with friendlier built-in alerts and themes). For most beginners we recommend plain OBS Studio — it is lighter on your PC and everything you learn transfers everywhere.
The Settings That Actually Matter
In OBS, run the auto-configuration wizard first, then check these manually. Set your encoder to NVENC if you have an NVIDIA card, or x264 on medium if not. For output, 1080p at 60fps with a 6000 kbps bitrate is Twitch’s practical ceiling for new streamers; if your upload or PC struggles, 720p at 60fps and 4500 kbps looks clean and runs smoothly. Add your game capture as a source, your microphone with a noise gate filter to cut keyboard noise, and your camera in a corner. Record a local test, watch it back with headphones, and fix levels before you ever go live.
Step 4: Design Your Channel Layout
You do not need expensive art on day one, but a few basics make your stream look intentional. Create a simple overlay frame for your camera, a “Starting Soon” screen, a “Be Right Back” screen, and an offline banner — free templates exist, and simple clean designs age better than cluttered ones. Set up alerts for followers and subscribers through a service like StreamElements or Streamlabs so new supporters get thanked on screen. Finally, fill your channel panels with an about section, your schedule, your PC specs, and your rules. Panels are free and they signal that you take this seriously.
Step 5: Plan Your First Streams
Pick Your Game and Schedule
Stream a game you genuinely enjoy and know well — enthusiasm is visible, and your early job is building the habit, not chasing trends. Oversaturated categories bury new channels, so consider games with a healthy but not gigantic directory. More important than the game is the schedule: two or three consistent sessions a week beat daily streams that stop after a fortnight. Publish the schedule on your channel and keep it like an appointment.
Talk Even When Chat Is Quiet
The hardest beginner skill is narrating to an empty room. Explain your decisions, react out loud, and tell small stories, because the viewer who joins in minute forty hears a lively stream and stays. Turn off your viewer count while you learn this — watching a number sit at zero or one is demoralising and changes how you perform.
Your First Stream Checklist
Before going live: test audio levels, check the game capture is the right window, post your go-live announcement on social media, put water within reach, and set a stream title that is descriptive and searchable rather than just the game name. Then hit start and give it at least two hours. Short, nervous fifteen-minute streams teach you nothing.
Step 6: Grow Beyond Day One
Twitch itself is poor at discovery, so growth happens off-platform. Clip your best moments and post them to TikTok, YouTube Shorts, and Instagram Reels, where algorithms actually show new creators to strangers. Watch your own recordings back and note one thing to improve each week. Network genuinely in other small streamers’ chats — be a regular viewer, not a self-promoter. Finally, learn the path to Affiliate: 50 followers, 8 hours streamed, 7 different days, and an average of 3 viewers across a 30-day window. It is an achievable first milestone that unlocks subscriptions and channel points.
Frequently Asked Questions
How much does it cost to start streaming on Twitch?
You can start for free using a console or a PC you already own, plus free software like OBS Studio. The first upgrade worth paying for is a USB microphone at around $50–$100. Everything else — camera, lights, overlays — can be added gradually as you grow.
What internet speed do I need to stream on Twitch?
Aim for at least 10 Mbps of stable upload speed for a comfortable 1080p stream at 6000 kbps. More important than raw speed is stability: use a wired Ethernet connection, because Wi-Fi fluctuations are the most common cause of dropped frames and buffering for viewers.
How many viewers do you need to make money on Twitch?
You can earn your first revenue as a Twitch Affiliate, which requires an average of just 3 viewers plus follower and hours milestones. Realistically, meaningful income takes a consistent average of 75–100+ concurrent viewers, which is why streaming should start as a hobby you enjoy, not a financial plan.
Should new streamers use OBS or Streamlabs?
Both work, but we recommend OBS Studio for most beginners. It is free, uses fewer PC resources, and is the standard tool used by most experienced streamers. Streamlabs is fine if you want built-in themes and alerts with less manual setup.
Conclusion
Learning how to start streaming on Twitch is mostly about removing excuses: secure your account, plug in a decent microphone, wire your connection, set OBS up once and properly, and commit to a schedule you can keep. Your first streams will be quiet — everyone’s are. Stream anyway, clip everything, improve one thing a week, and you will be ahead of most people who ever pressed “Go Live.”



One Comment